Ag Installation
- Home
- Ag Installation
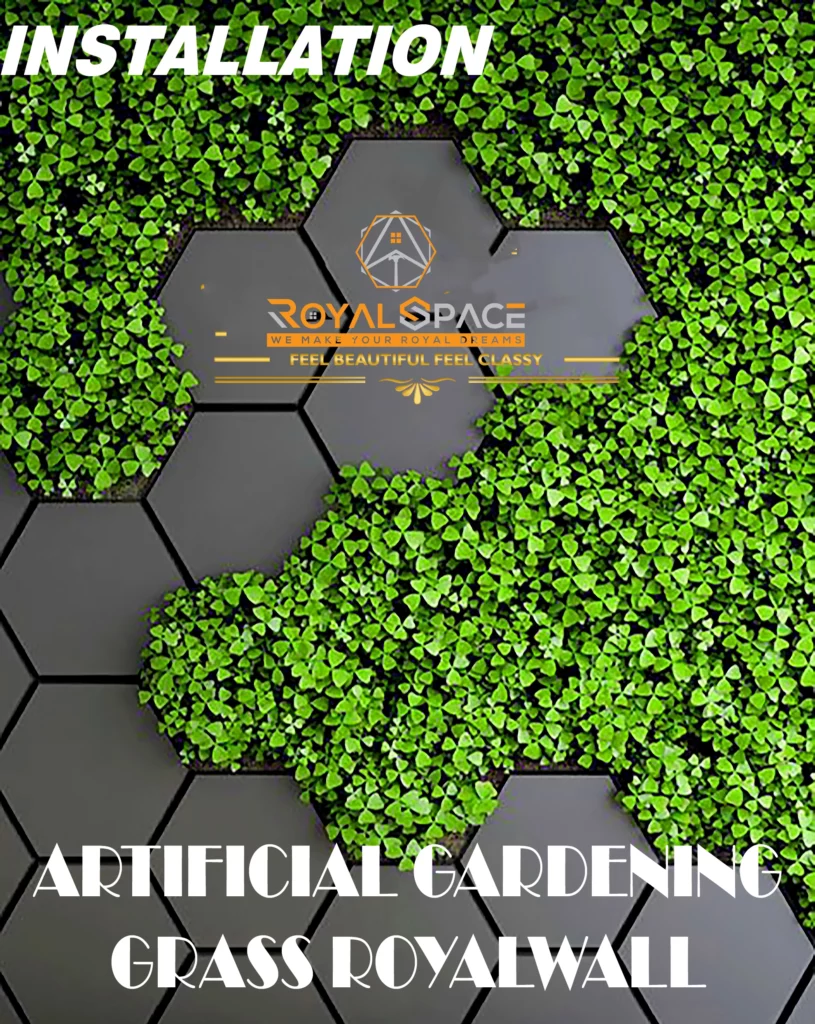
RoyalSpace Artificial Gardening installation
We will show you in our Installation Image in which we guide you step by step how to get the best result on fixing your Royal Artificial Gardening to the wall and how to install your Royal Artificial Gardening easily!
Initial Consultation: We begin with an in-depth discussion to understand your preferences, space, and vision for the artificial garden.
Site Assessment: Our team visits your location to assess factors such as sunlight, space dimensions, and existing landscaping.
Design Concept: We create a customized artificial garden design, including the selection of artificial plants, trees, and landscaping elements.
Material Selection: We guide you in choosing high-quality, lifelike artificial plants and materials that match your design.
Measurement and Layout: Precise measurements are taken to determine the placement of artificial plants and features.
Surface Preparation: We prepare the area by ensuring a level and stable base, and if required, we install a weed barrier.
Installation: Our skilled team begins the installation, placing artificial plants and landscaping elements according to the approved design.
Securing and Anchoring: Artificial plants are securely anchored to prevent displacement and ensure long-lasting beauty.
Final Touches: We add finishing touches such as decorative stones, mulch, or other elements to enhance the garden’s aesthetics.
Quality Inspection: Before handing over the project, we conduct a thorough quality check to ensure that the artificial garden meets our high standards and exceeds your expectations.
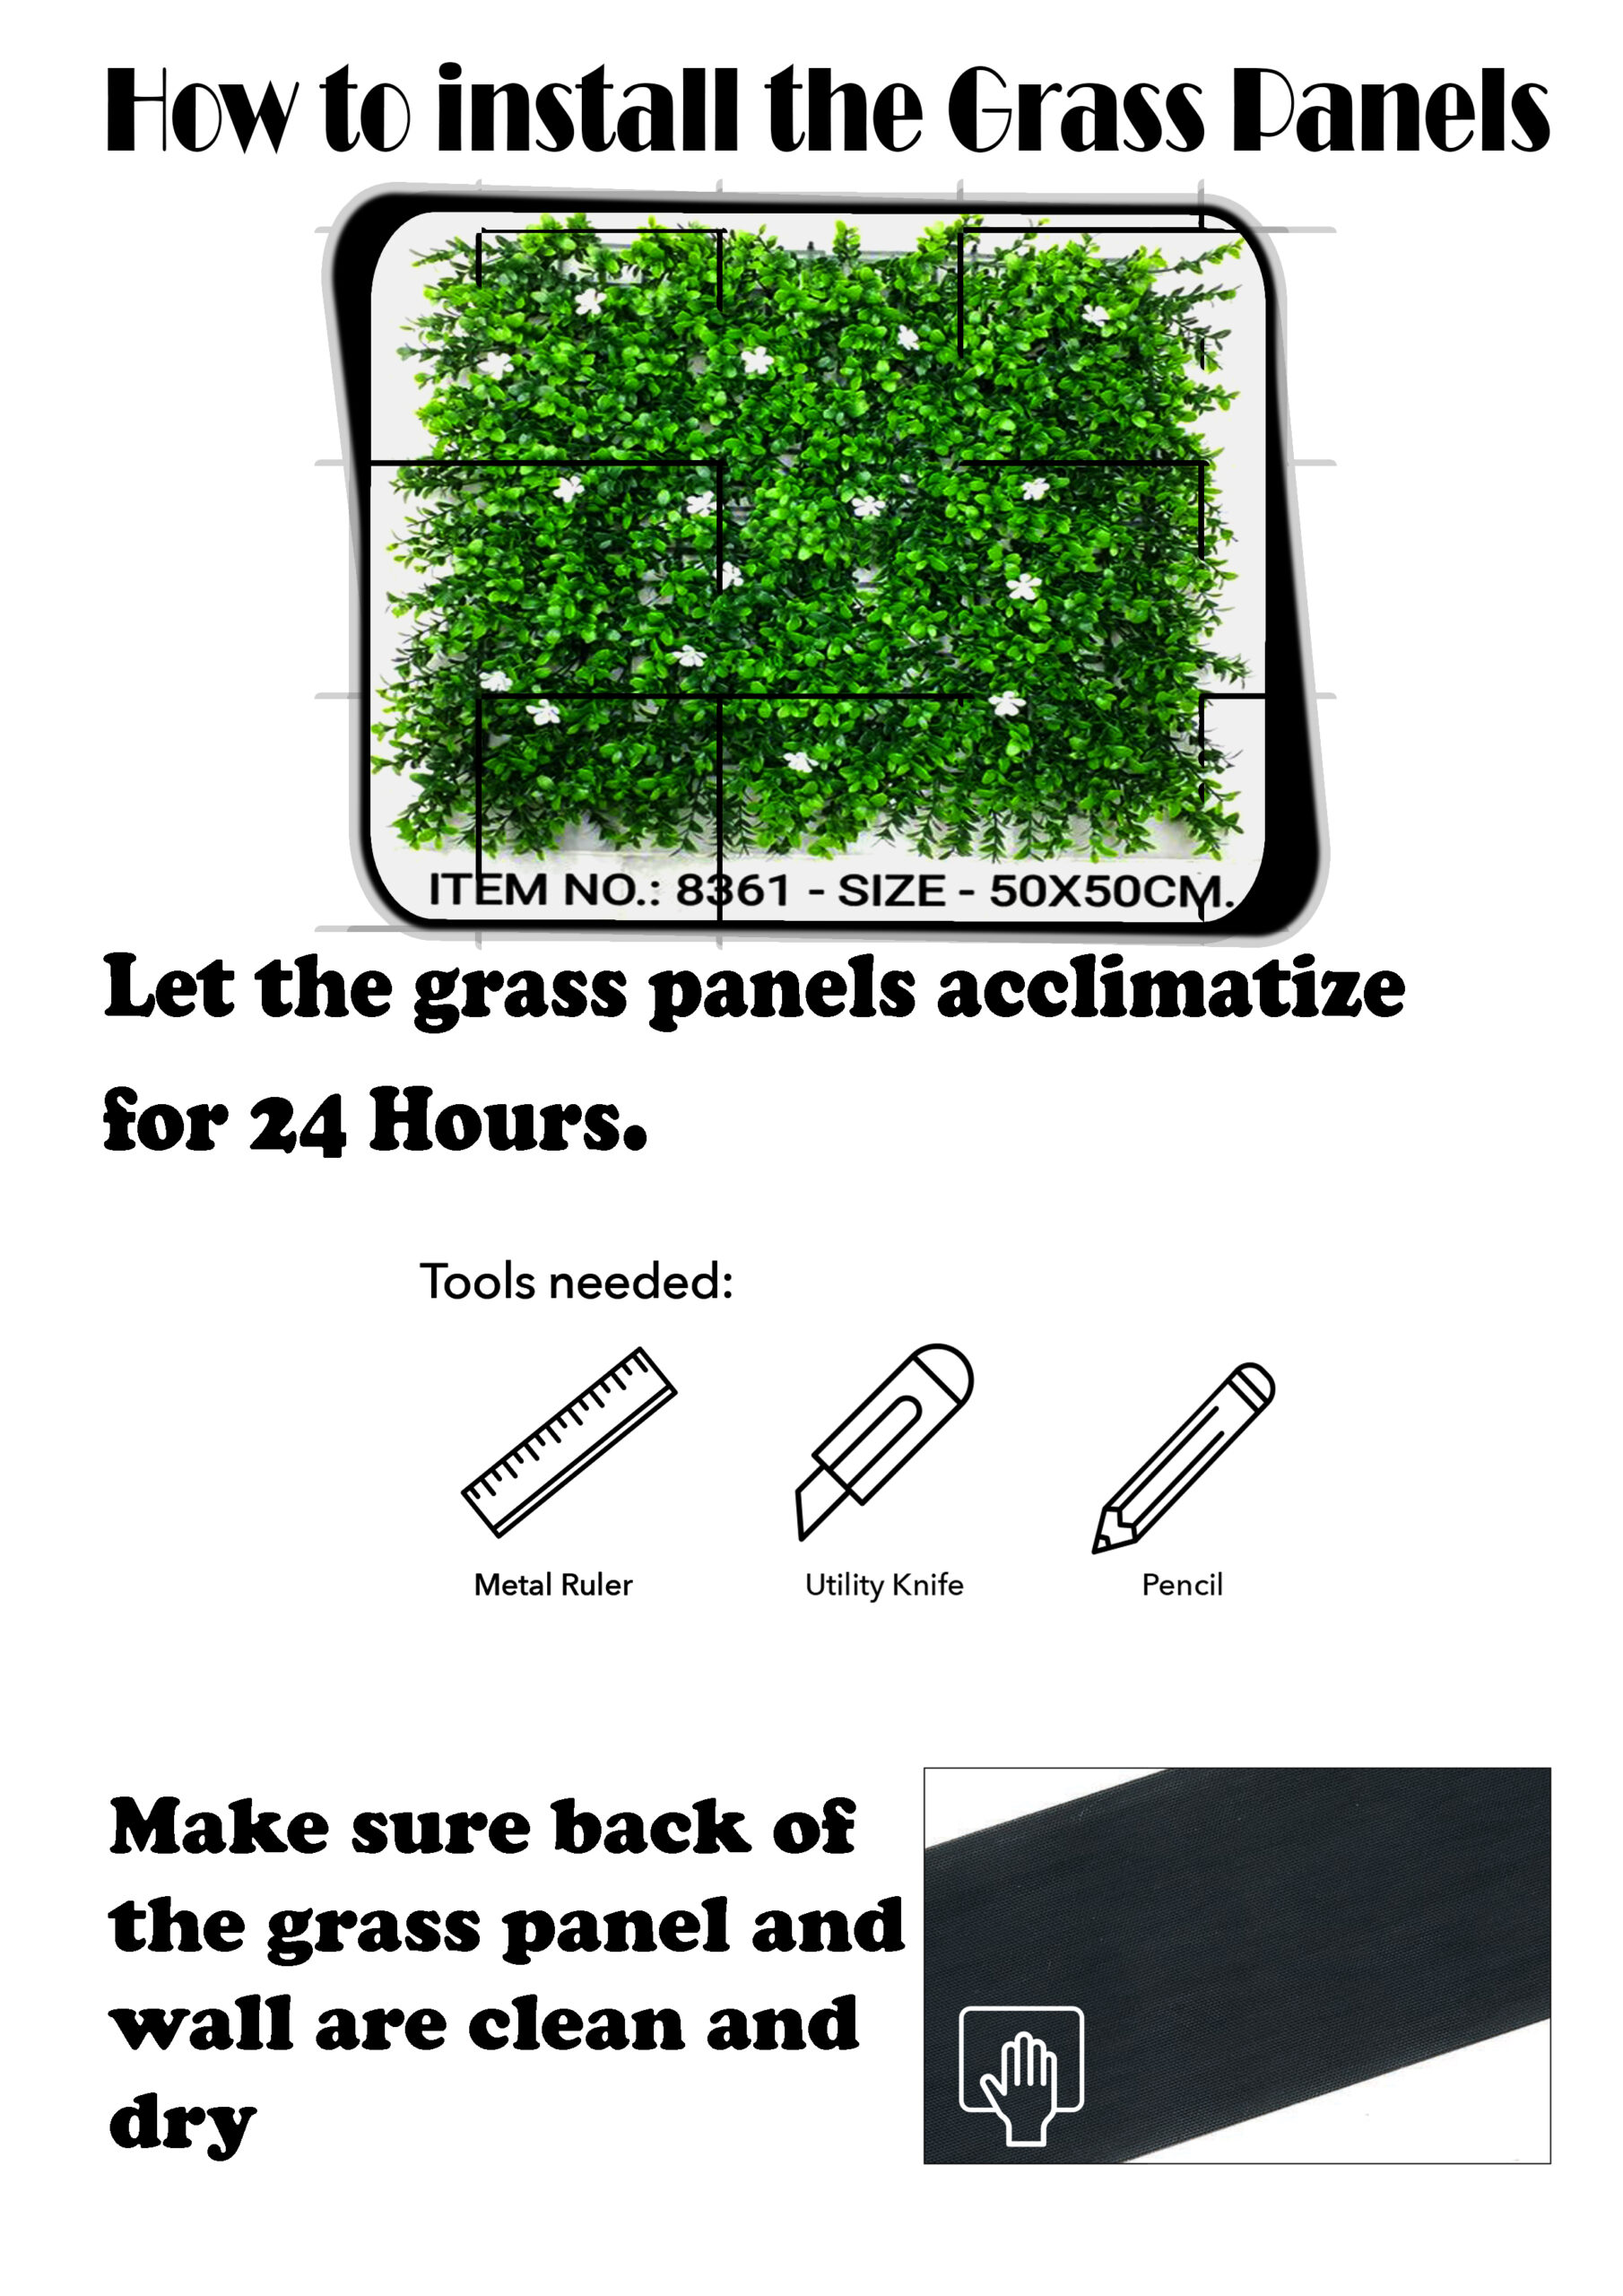
How to install Royal Wall Artificial Gardening grass
The Royal Wall Wallpaper is handy and easy to install by following our instructions. You can easily the Wallpaper with Wallpaper adhesive or wallpaper paste. Check here and download the super easy Installation Manual where we guide you step by step to fix the Royal Wall wallpaper to your wall . Wallpaper adhesive or wallpaper paste is a specific adhesive based on modified starch to fix wallpaper to walls.
Surface Preparation: Begin by ensuring the surface where you intend to install the artificial grass is clean and free from debris. Remove any existing grass, weeds, or rocks.
Measuring and Planning: Measure the area accurately to determine the amount of artificial grass needed. Plan the layout, considering the direction of the grass blades for a natural look.
Order the Grass: Choose the Royal Wall artificial gardening grass that suits your aesthetics and needs. Order the required amount, accounting for a little extra for trimming.
Prepare the Base: Create a stable and well-draining base. Depending on your specific situation, this could involve using a layer of crushed stone or a base of sand.
Lay Weed Membrane: Install a weed membrane fabric over the prepared base. This will help prevent weeds from growing through the artificial grass.
Cut and Fit: Roll out the artificial grass over the area. Trim it to fit perfectly, leaving some overlap along the edges to be cut later.
Securing the Edges: Use landscape staples or adhesive to secure the edges of the artificial grass. Make sure it’s taut and doesn’t have any wrinkles.
Seam Joints: If your area is larger than the width of the artificial grass rolls, you may need to seam multiple pieces together. Use adhesive and join the edges seamlessly.
Brush and Infill: Use a stiff brush or a power broom to brush the grass blades upright. Apply an infill material like silica sand to help the grass blades stand and provide additional stability.
Final Trimming and Inspection: Trim any excess grass along the edges for a clean finish. Inspect the entire installation for any imperfections or areas that may need adjustments.
With these steps, your Royal Wall artificial gardening grass should be installed professionally and ready to provide a lush, maintenance-free green space.